Adding a news article
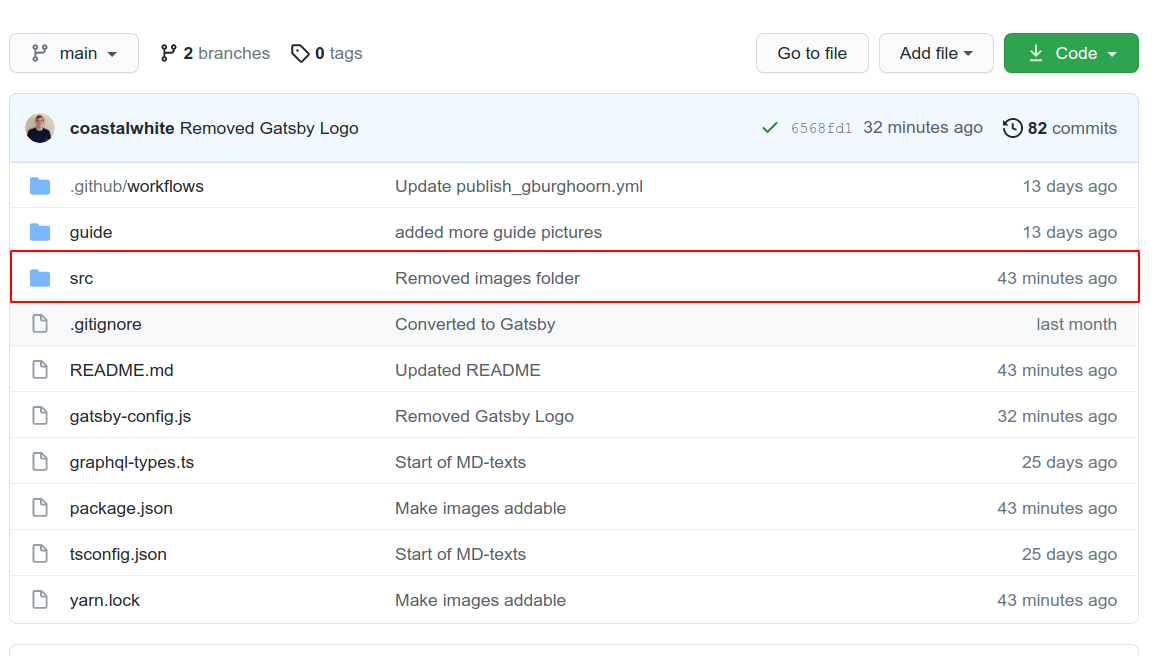
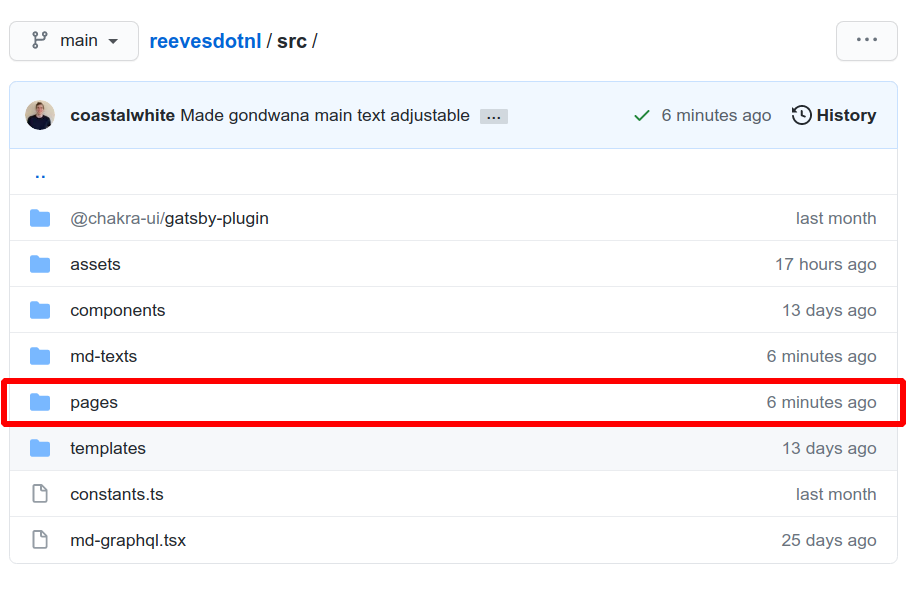
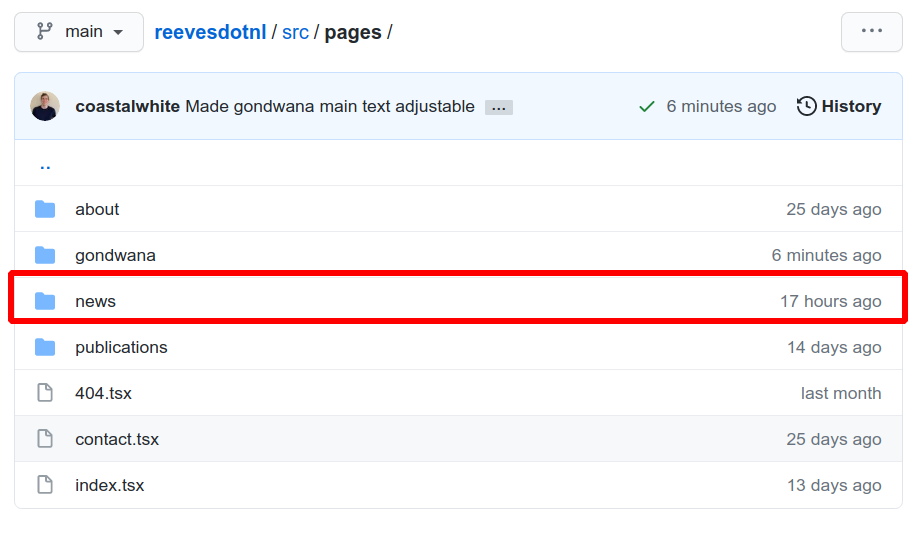
To add a new article we must go to src/pages/news folder.
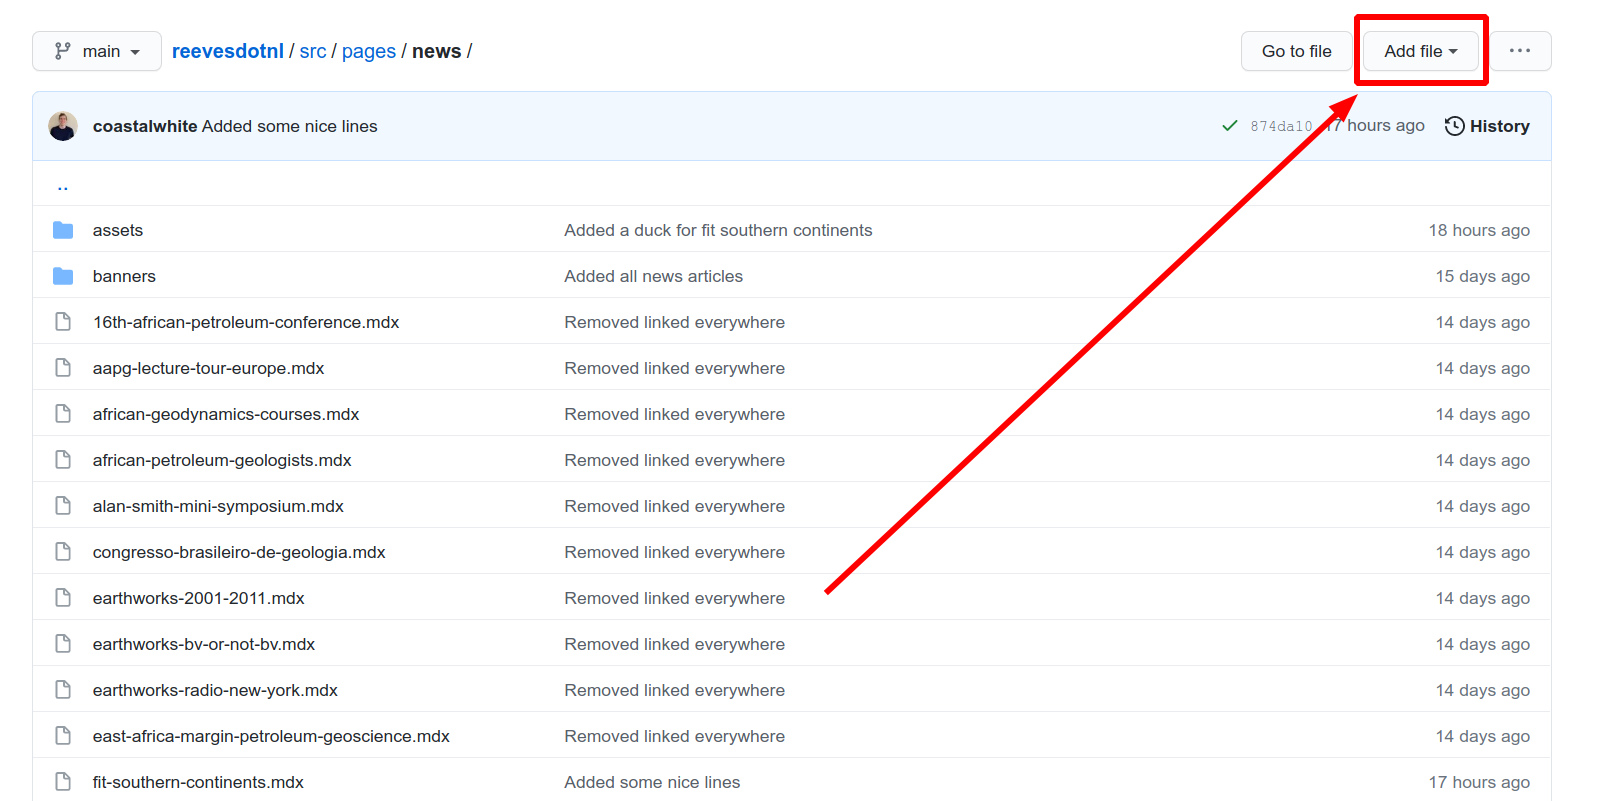
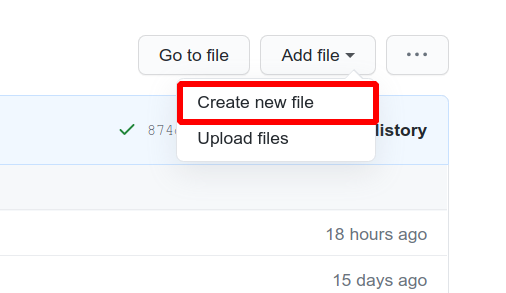
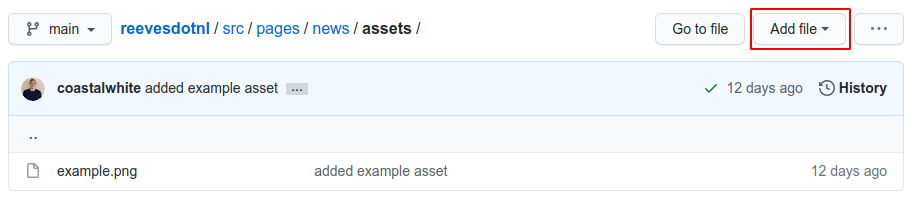
Now we click the Add file button in the upperright corner. Followed by the
Create new file button in the dropdown menu.
Now we come to a new page, where we first must add a name for our file. The naming here is as follows:
- Only lowercase words, divided with
- - Ending on the extension
.mdx
So an example would be an article called Ducks are Beautiful Animals, could be
called ducks-beautiful-animals.mdx.

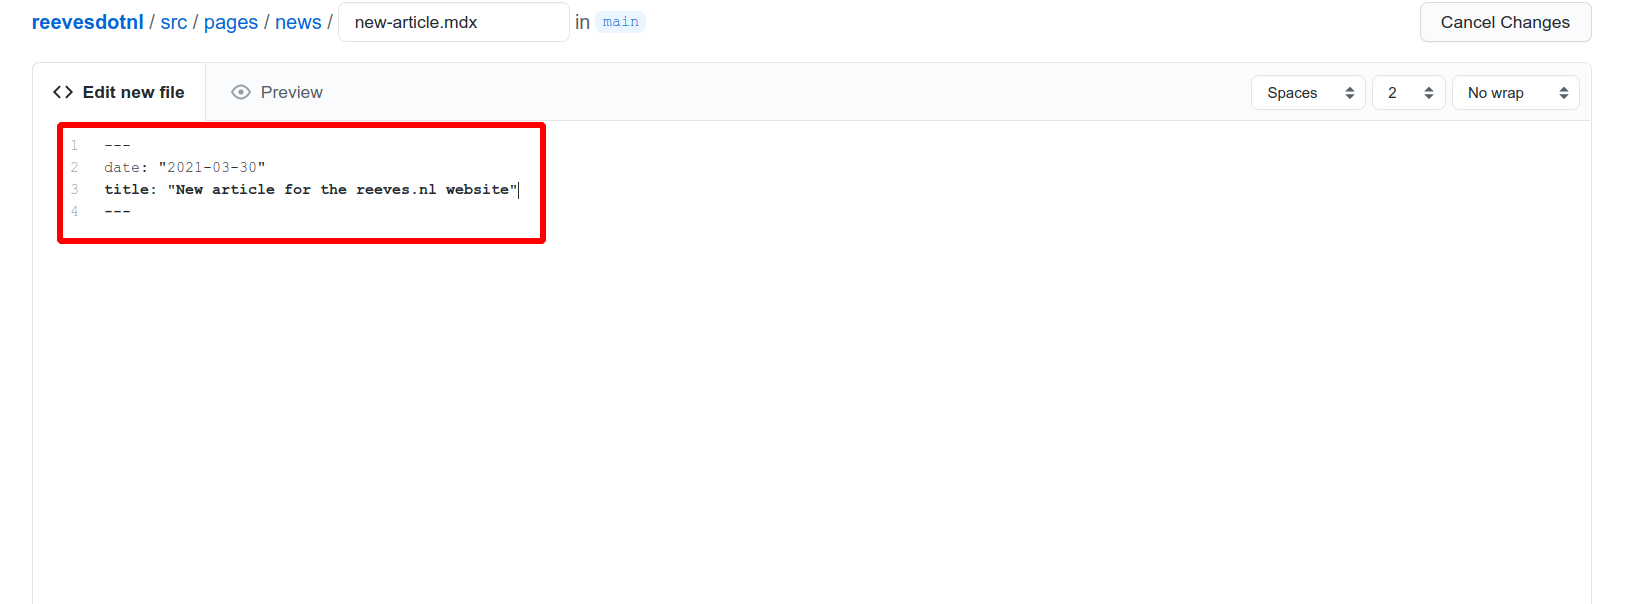
Now we need to add some metadata about the article. What is the date at which it is published, and what is the title of the article.
That all goes in here. This is started and ended with a line of ---.
For the date we would add a line date: "YYYY-MM-DD" with YYYY being the year, MM
being the month and DD being the day. For the title we would add a line:
title: "Ducks are Beautiful Animals" where you can replace everything
between the quotes with your own title.
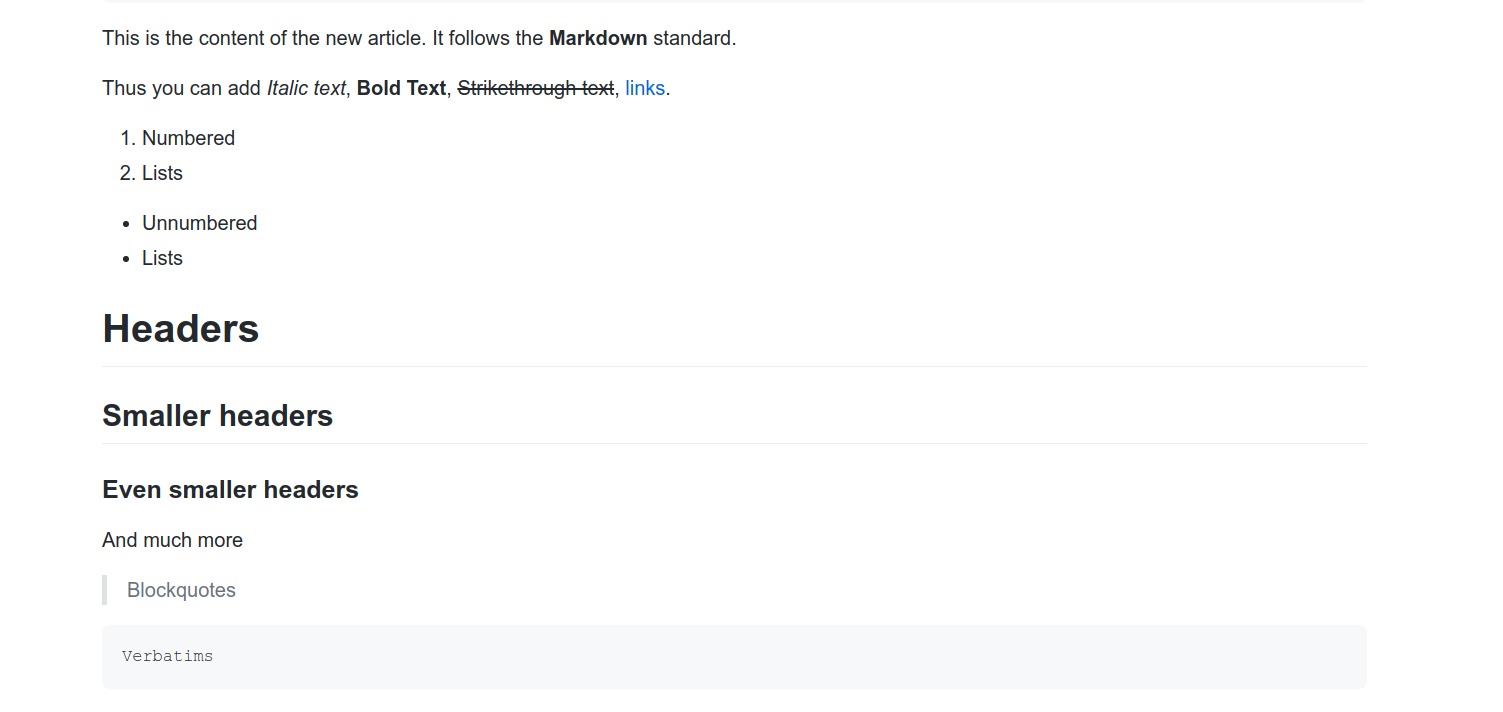
Afterwards we can add our article in the markdown format. To add images take a look here.
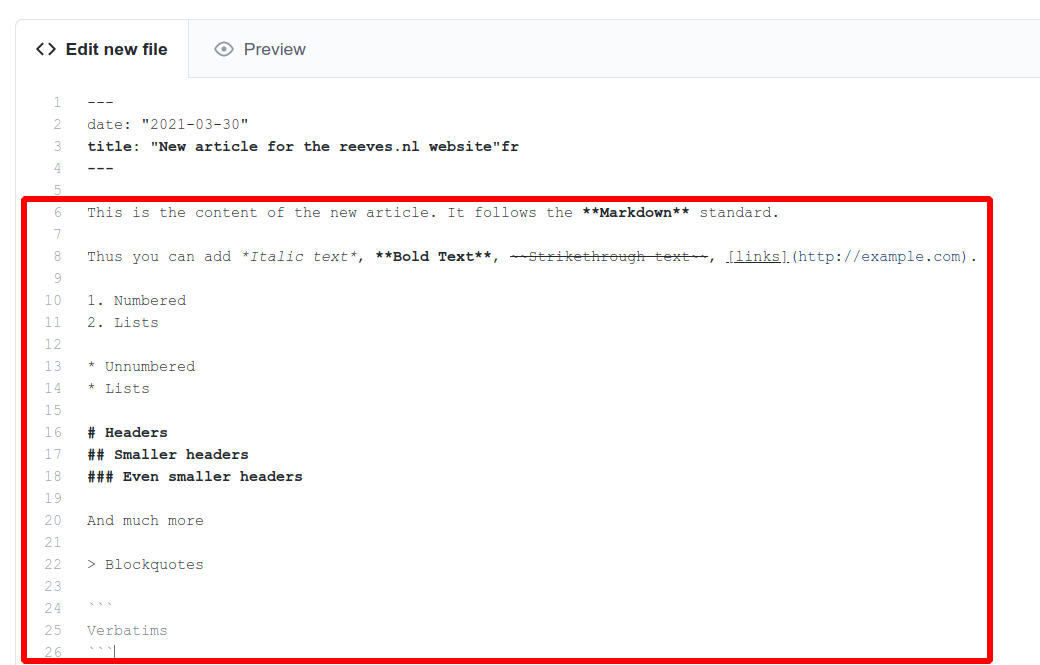
This would equate to:
Now we scroll down to the Commit Changes section.
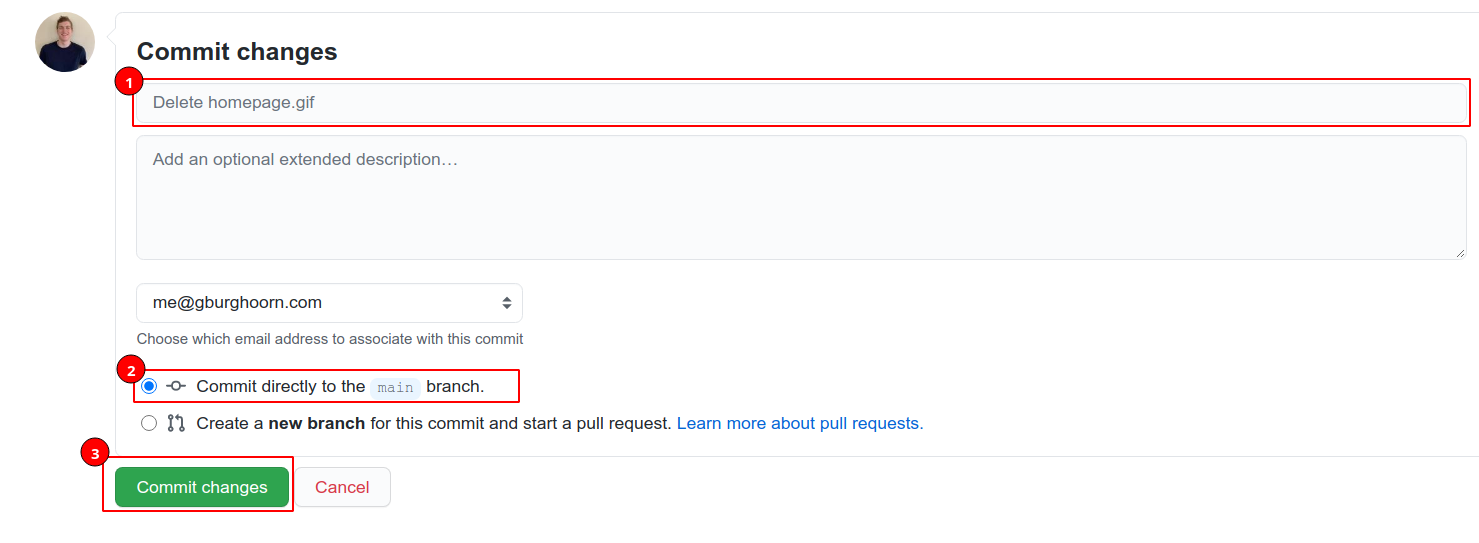
- Enter an appropriate title e.g.
Added news article - Make sure the
Commit directly to the main branchis checked. - Click the
Commit Changesbutton.
The article should now be added.
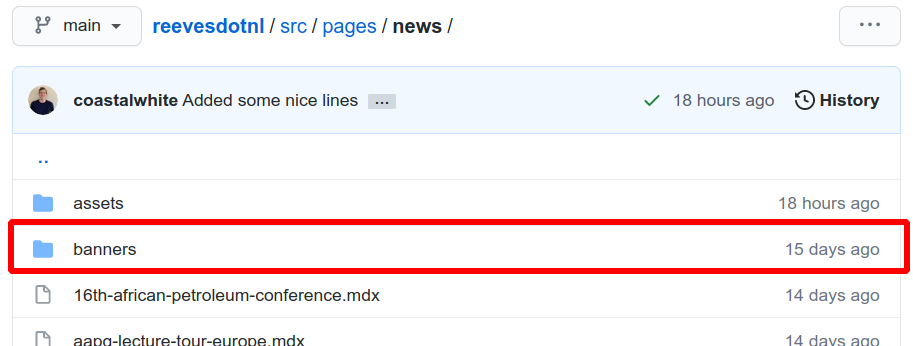
Adding a banner image
To add a banner image, we can navigate to the src/pages/news/banners folder.
We click the Add file button (shown in the following figure).
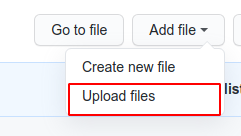
A small menu will pop up and we will click the Upload files button.
A new page will show up where we can click the choose your files. This will
open a file explorer where you can direct it towards the banner image.
Alternatively, you could drag the files from the source
into this box, which should also add them.
IMPORTANT NOTE: Make sure your banner image has the same base filename as your article. E.g. if your article is called
ducks-beautiful-animals.mdxthen your banner image should be calledducks-beautiful-animals.*with the*being the extension of the image (png,jpg,gif,bmp, etc.). This should be done before uploading the image.
All uploaded images will appear under the box (as can be seen below).
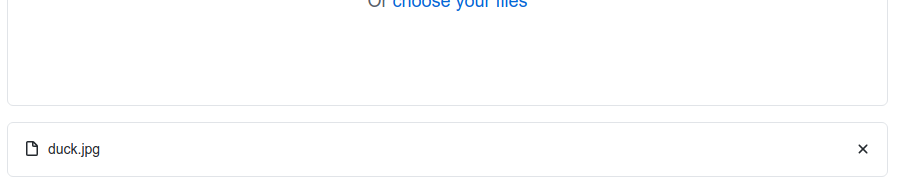
When we have added all the images we would like to upload we can move onto the next step.
Verifying the uploaded files
If we have added all the images we want to add we can scroll down the page to see the following box.
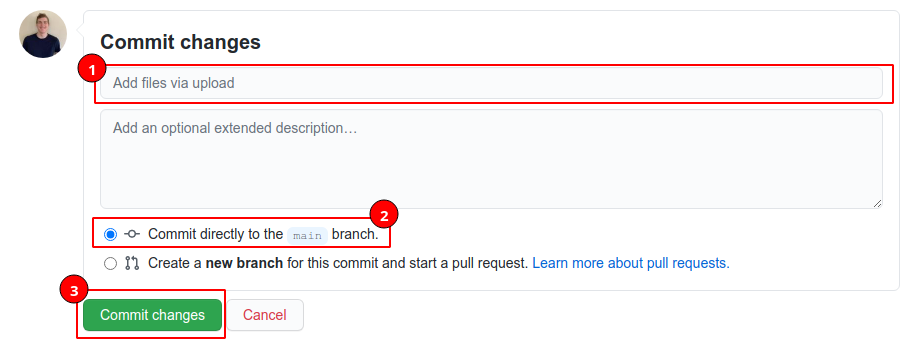
In 1 we want to add a description of what we just added. I just added a banner
image so I would write something like Added banner image. This is not very
important, but in the long run will help with keeping track of what you did.
We want to make sure 2 is checked.
After 1 and 2 are done, we can click the Commit Changes button.